Using Amazon SES for SMTP Email Settings
Learn to set up Amazon SES SMTP to deliver your Actionetics and ClickFunnels emails. You would use Amazon SES for SMTP Email Settings if you wanted to connect an existing SES account with ClickFunnels for email sending.
Prior to getting started, you will need the following:
Important Note: Amazon SES is not an officially supported SMTP provider, but these instructions are included step-by-step to assist. If you follow along with these directions, you can use SES successfully with ClickFunnels. Please note, however, our support team will not be able to assist.
Step 1. Account Set up
- Sign Up for an Amazon SES account
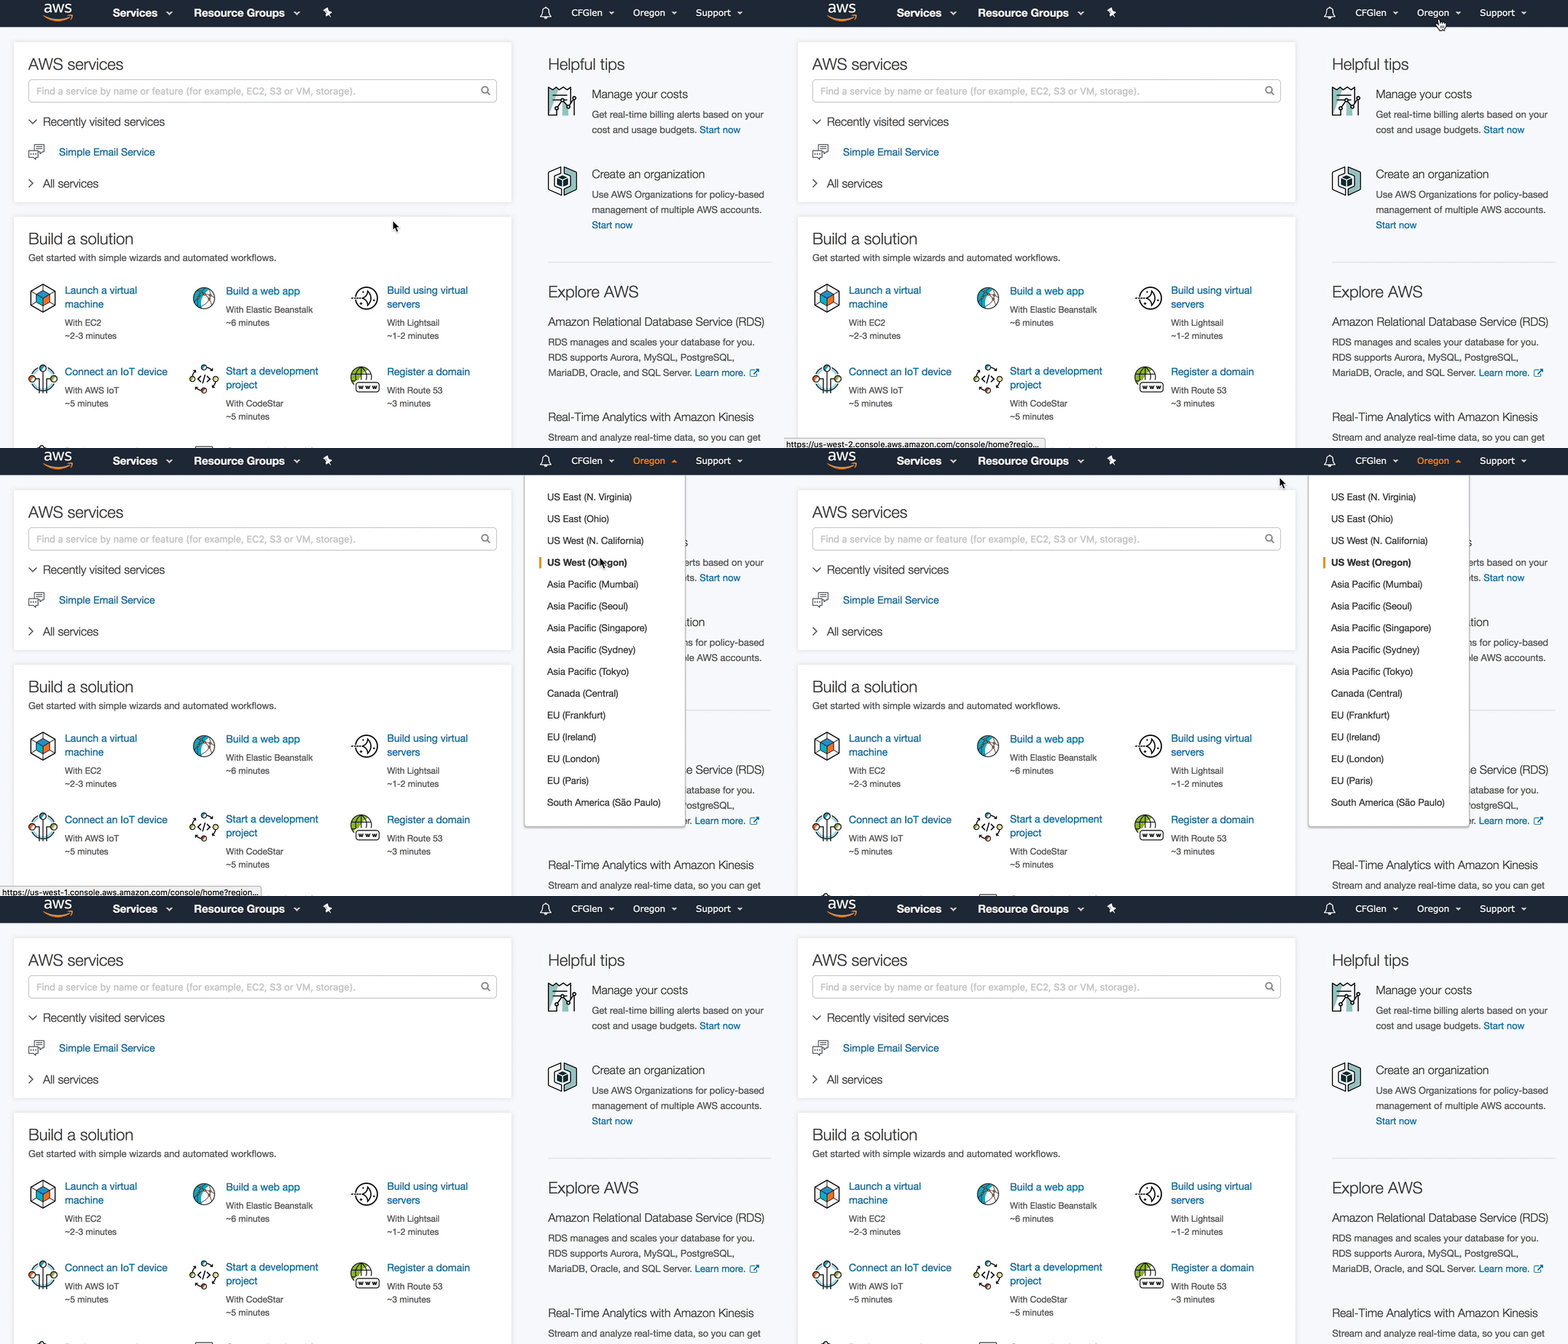
- Select the US WEST Oregon server (Server must be set)

Step 2. Validate your Domain
- Search for SMTP
- Select Simple Email Service
- Select Manage Identities
- Select Verify a New Domain
- Enter the domain without www or http/https
- Select Generate DKIM Settings
- Click Verify This Domain
- Scroll down to the TXT and CNAME prompts

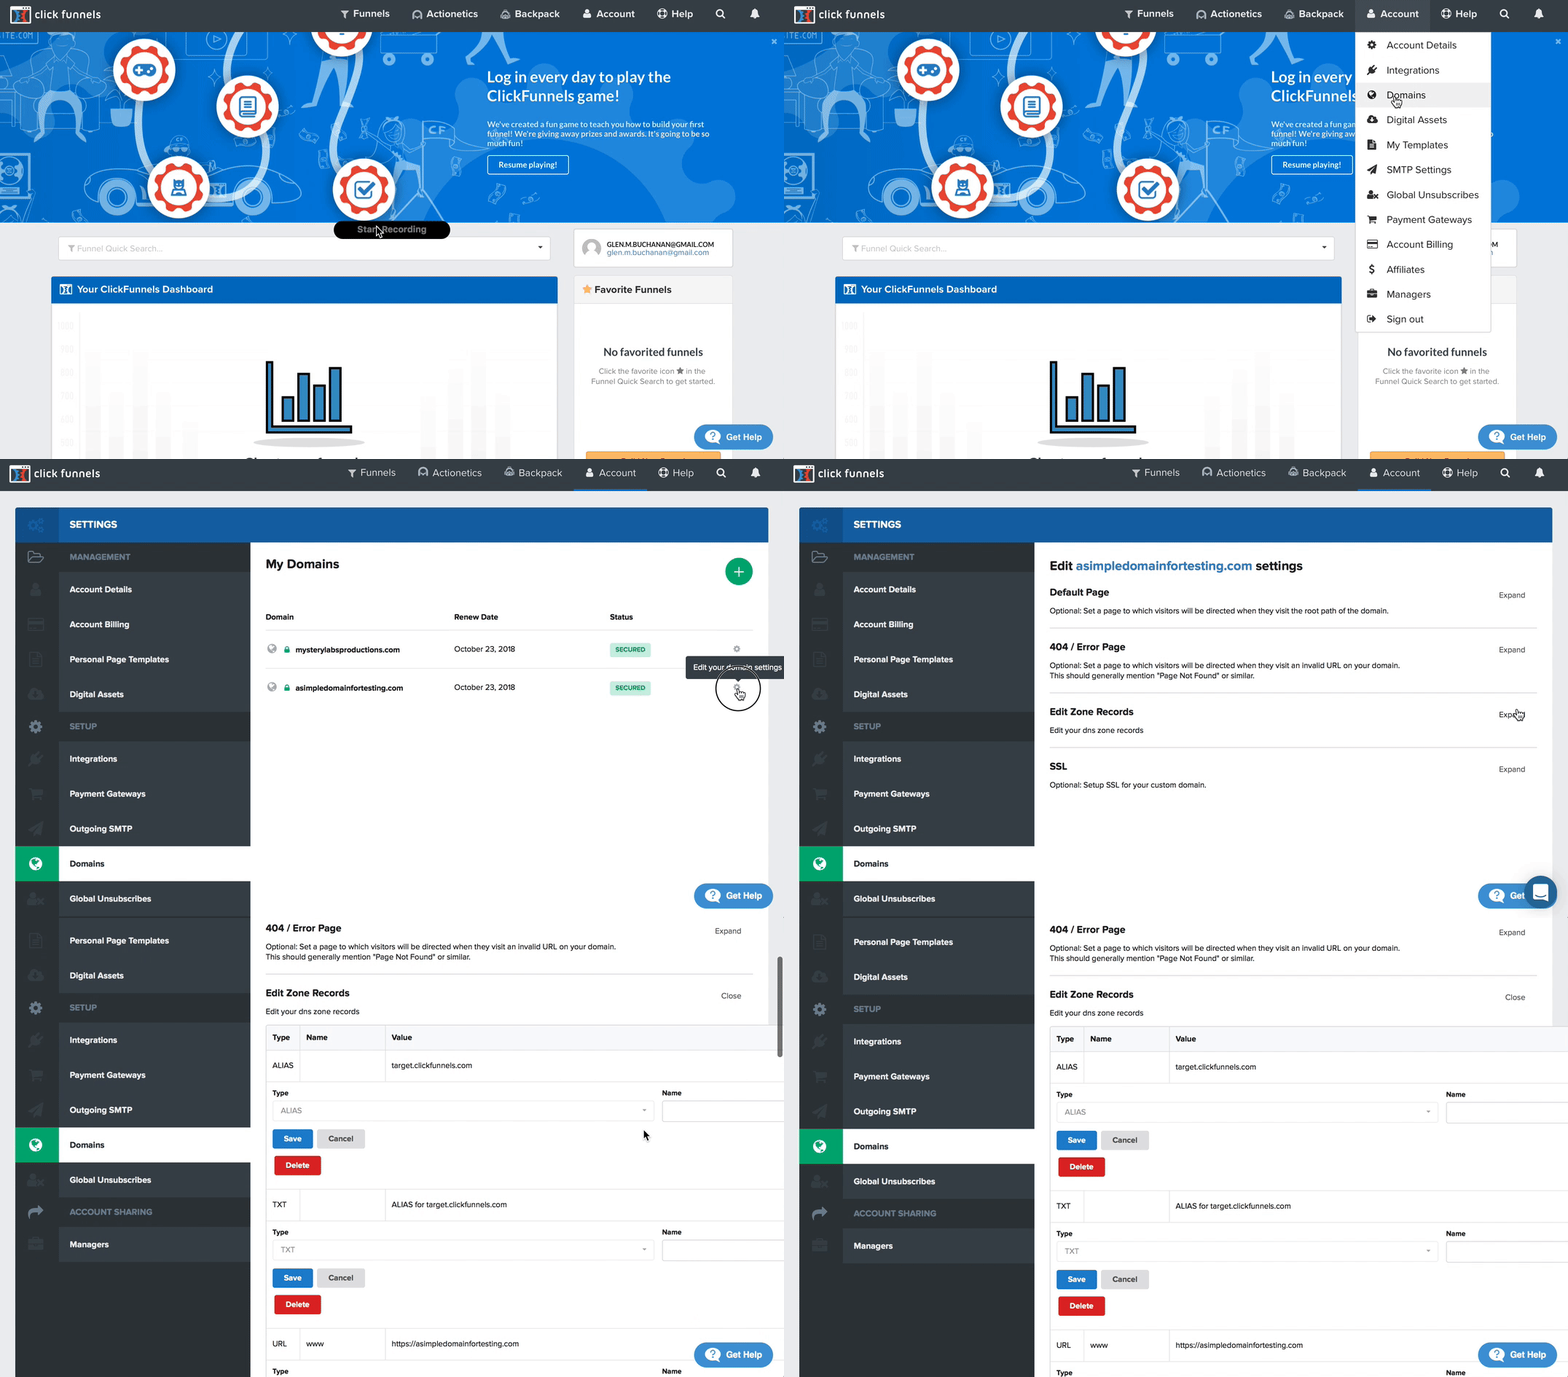
- Open your DNS Zone record Editor
- Create the 3 CNAME's as directed (Note: only to the period before the domain as shown with the strikethrough)
- Create the TXT record
- Amazon SES will automatically check for these settings

Step 3. Validate your Email Address
- Select Email addresses.
- Select Verify a New Email Address (this will be the email address you set up with your email host under the "What you need" portion above).
- Open your email host.
- Select the confirmation link.

Step 4. Request a Sending Limit Increase
- You can make such request here: http://aws.amazon.com/ses/fullaccessrequest
This time frame is determined by Amazon SES Support

Step 5. Create your SMTP Credentials
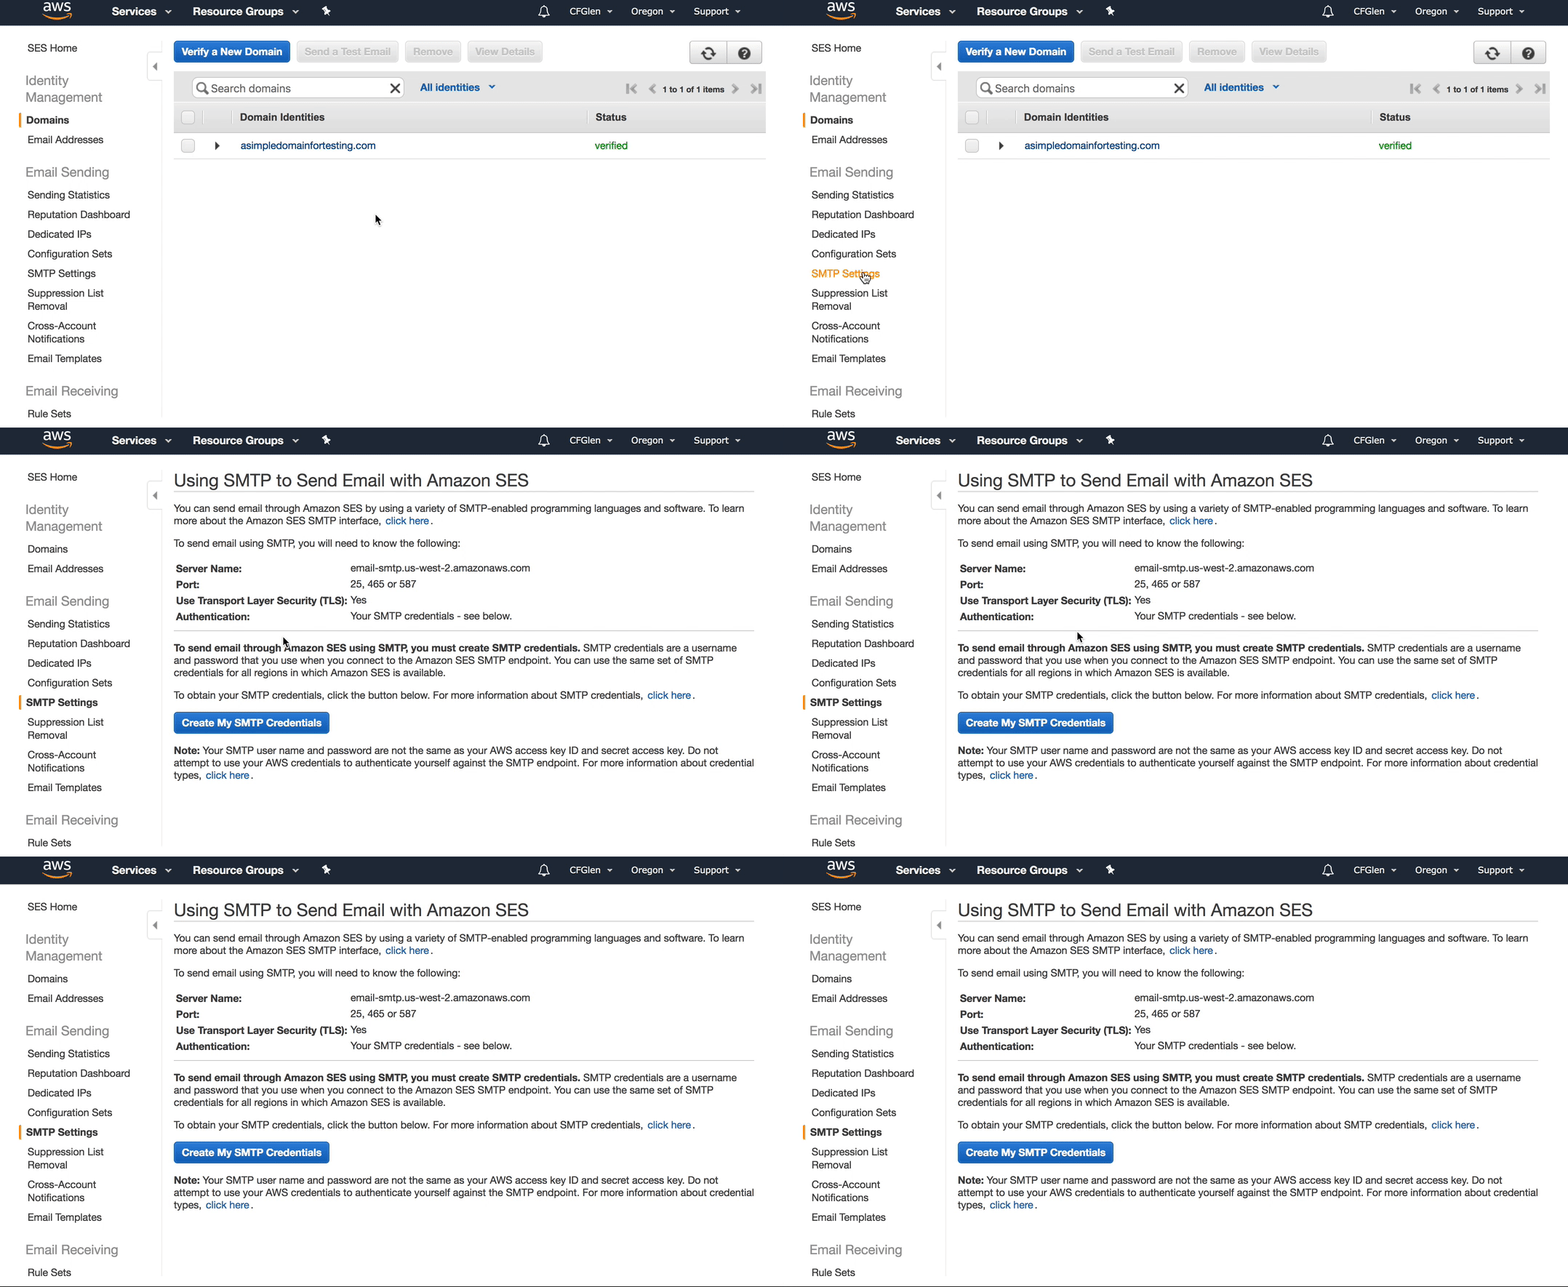
- Click the SMTP Settings Menu.
- Click Create My SMTP Credentials.
- Select your IAM User Name.
- Click the Create Button.
- Click Show User SMTP Security Credentials.
- Copy and Save both the Username and Password for use in the next step.

Step 6. Open your SMTP Settings
- From within ClickFunnels, press Account.
- Select SMTP Settings.
- Select to Setup email sending.
- Title - The name of your integration. This is for your reference only. This can be anything that you like.
- From Name - This is the name that will display in the user's email client when they receive an email from you.
- From Email - should be the same email that you verified in your Amazon SES settings.
- SMTP Server - The server name found on the SMTP Settings page in your Amazon SES account.
- Port - Enter 25, 465, or 587. Please insert only one.
- SMTP User - Your Amazon generated User ID
- SMTP Password - Your Amazon generated Password
- SMTP Domain - Enter is the domain that you verified. Insert only the domain name. Do not use www, http, or https.
- Domain - Domain within your account you desire this associated with.
- Address - Enter your business's physical address
- SMTP Footer - Your SMTP Footer is the information that will be included in the footer of all your emails. This footer area supports HTML code.

<center><p>Company Name | 123 Address, City, State, Zip | 9876543210</p>
<p><a href="#UN_SUB#">Unsubscribe</a></p></center>
Step 7. Test Your Settings / Finalize Integration
- Click Verify Email settings on the right-hand side of the SMTP settings page
- Select Default SMTP if this will be your default SMTP integration
- Select Save SMTP Integration
If you have any questions about this, please contact our support team by clicking the support icon in the bottom right-hand corner of this page.
Was this article helpful?
That’s Great!
Thank you for your feedback
Sorry! We couldn't be helpful
Thank you for your feedback
Feedback sent
We appreciate your effort and will try to fix the article
